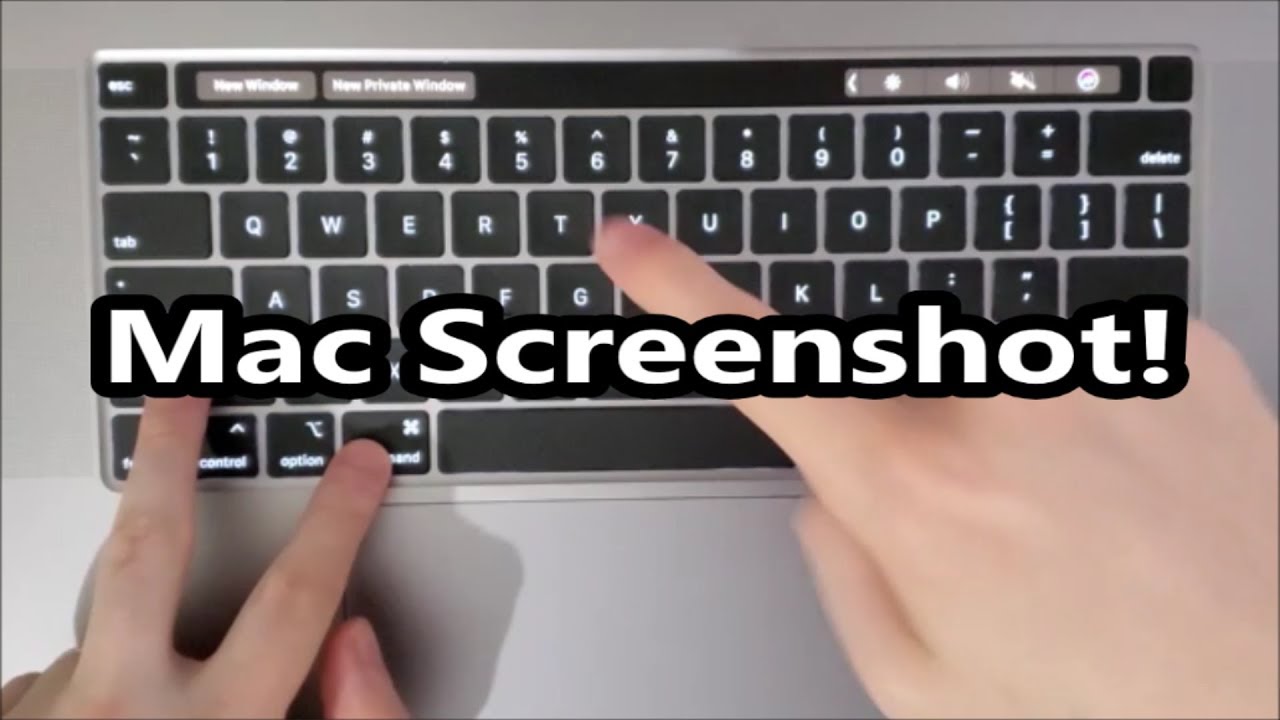
How to Screenshot on Mac | Quick Tip

Screenshots are a useful tool for capturing and sharing images of your computer screen. On a Mac, there are several different ways to take a screenshot, depending on what you want to capture and how you want to save it. Here are some of the most common methods for taking a screenshot on a Mac:
-
Capture the entire screen: To capture a screenshot of your entire screen, press the “Command” + “Shift” + “3” keys on your keyboard. The screenshot will be automatically saved to your desktop as a .png file.
-
Capture a specific window: To capture a screenshot of a specific window, press the “Command” + “Shift” + “4” keys on your keyboard. The cursor will change to a crosshair, which you can use to click and drag to select the area of the screen you want to capture. When you release the mouse button, the screenshot will be automatically saved to your desktop as a .png file.
-
Capture a specific area: To capture a screenshot of a specific area of the screen, press the “Command” + “Shift” + “4” keys on your keyboard, and then press the “Space” bar. The cursor will change to a camera icon, which you can use to click on any window to capture it. The screenshot will be automatically saved to your desktop as a .png file.
-
Save the screenshot to the clipboard: If you don’t want to save the screenshot to a file, you can instead save it to the clipboard. To do this, add the “Control” key to any of
